Planting Asparagus for Spring Harvests: The 20-Year Garden Investment
Planting Asparagus for Spring Harvests: The 20-Year Garden Investment
If you’re a gardener who loves a long-term plan, you need an asparagus bed.
Unlike most vegetables, asparagus is a perennial, meaning you plant it once, and it comes back year after year for 15 to 20 years. It’s the ultimate “gift that keeps on giving” for your garden and your dinner table.
But there’s a catch: it takes a little patience. If you’re willing to put in the work now and wait a couple of seasons for your first harvest, you’ll be rewarded with some of the sweetest, freshest spears you’ve ever tasted.
Whether you’re a busy parent looking for a low-maintenance crop or a Zone 6 gardener looking for a spring powerhouse, planting asparagus is a project that’s well worth the effort.
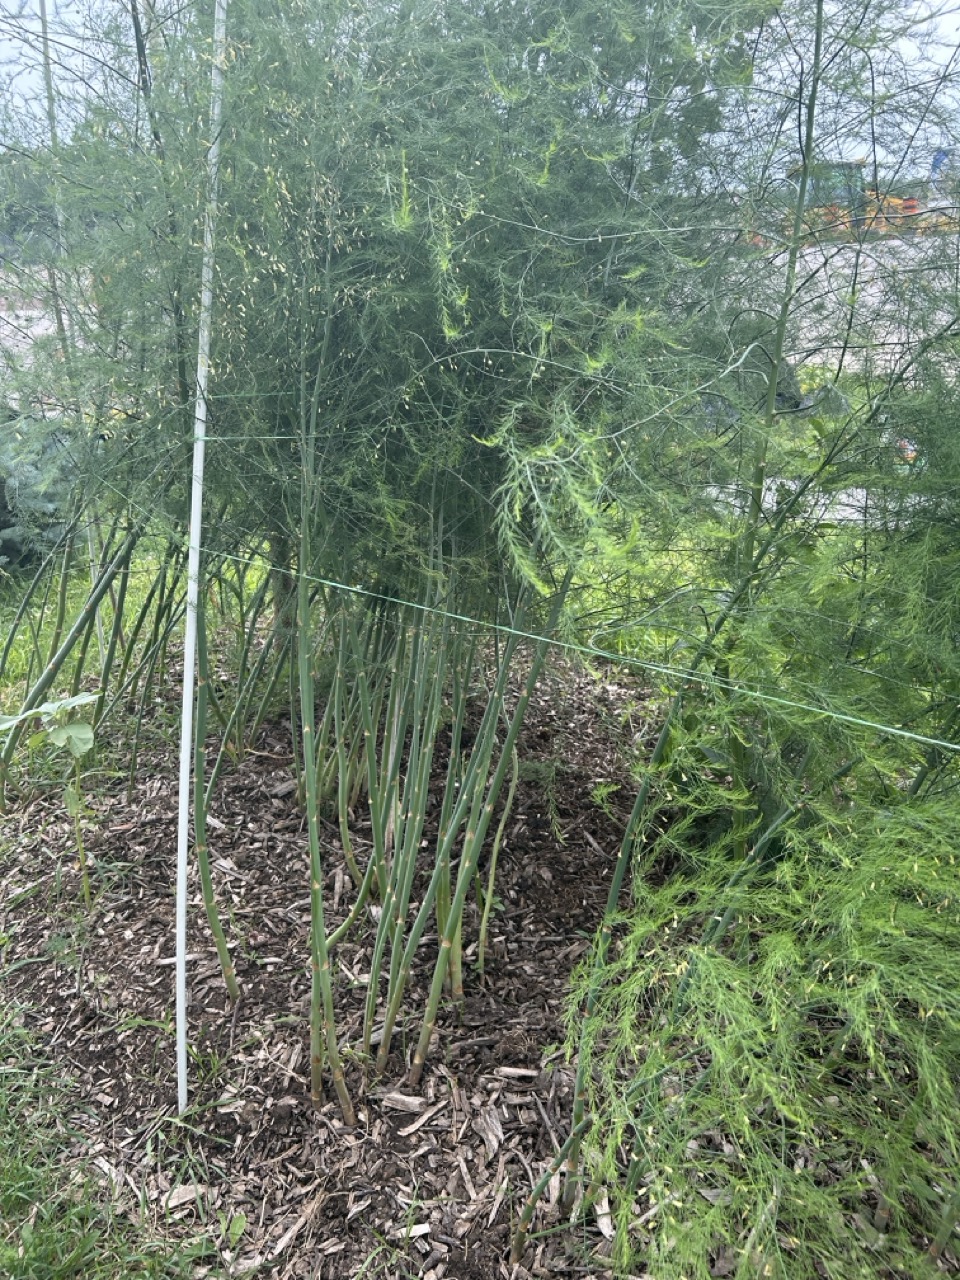
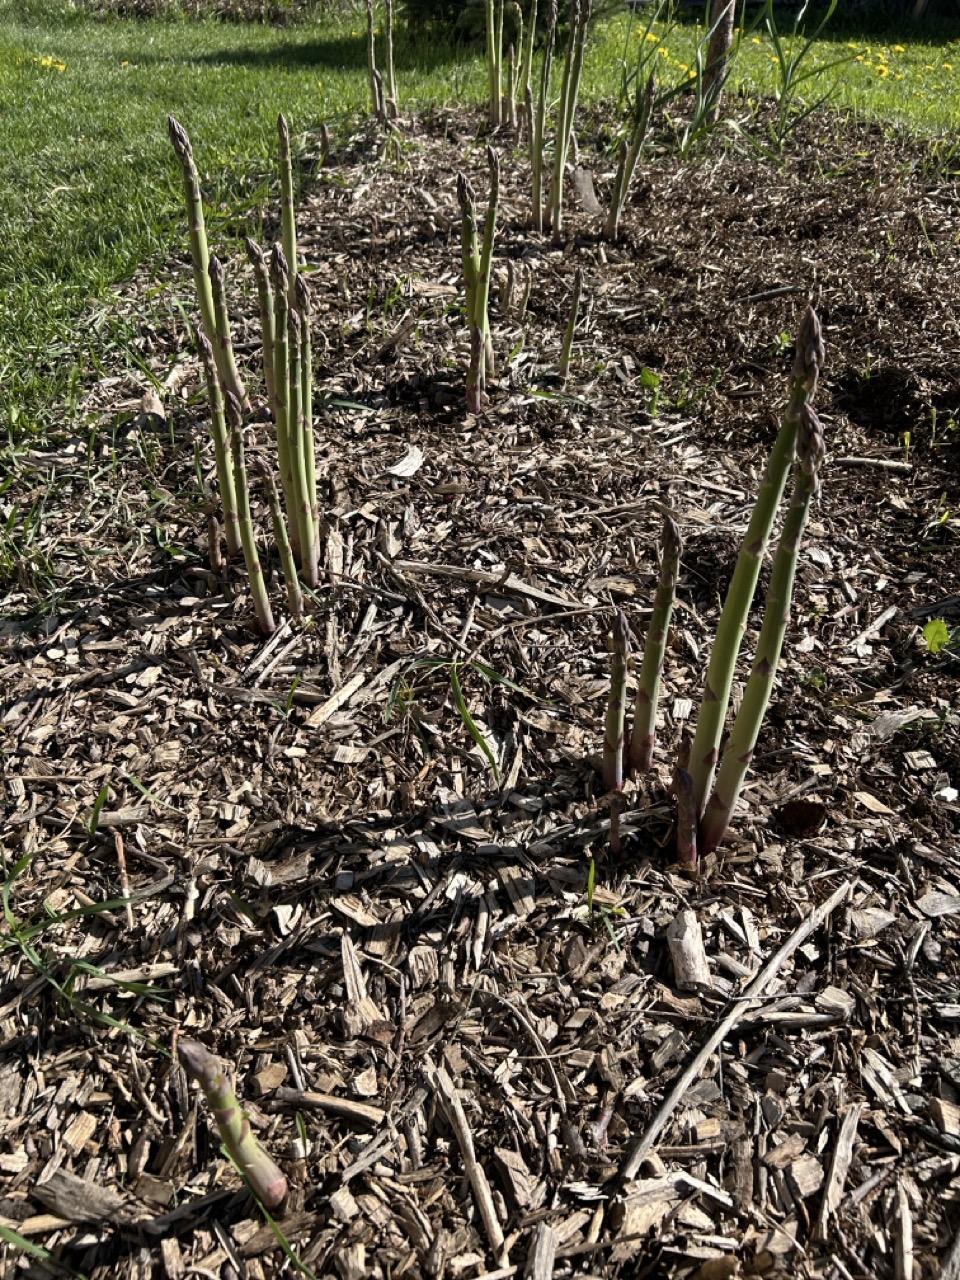
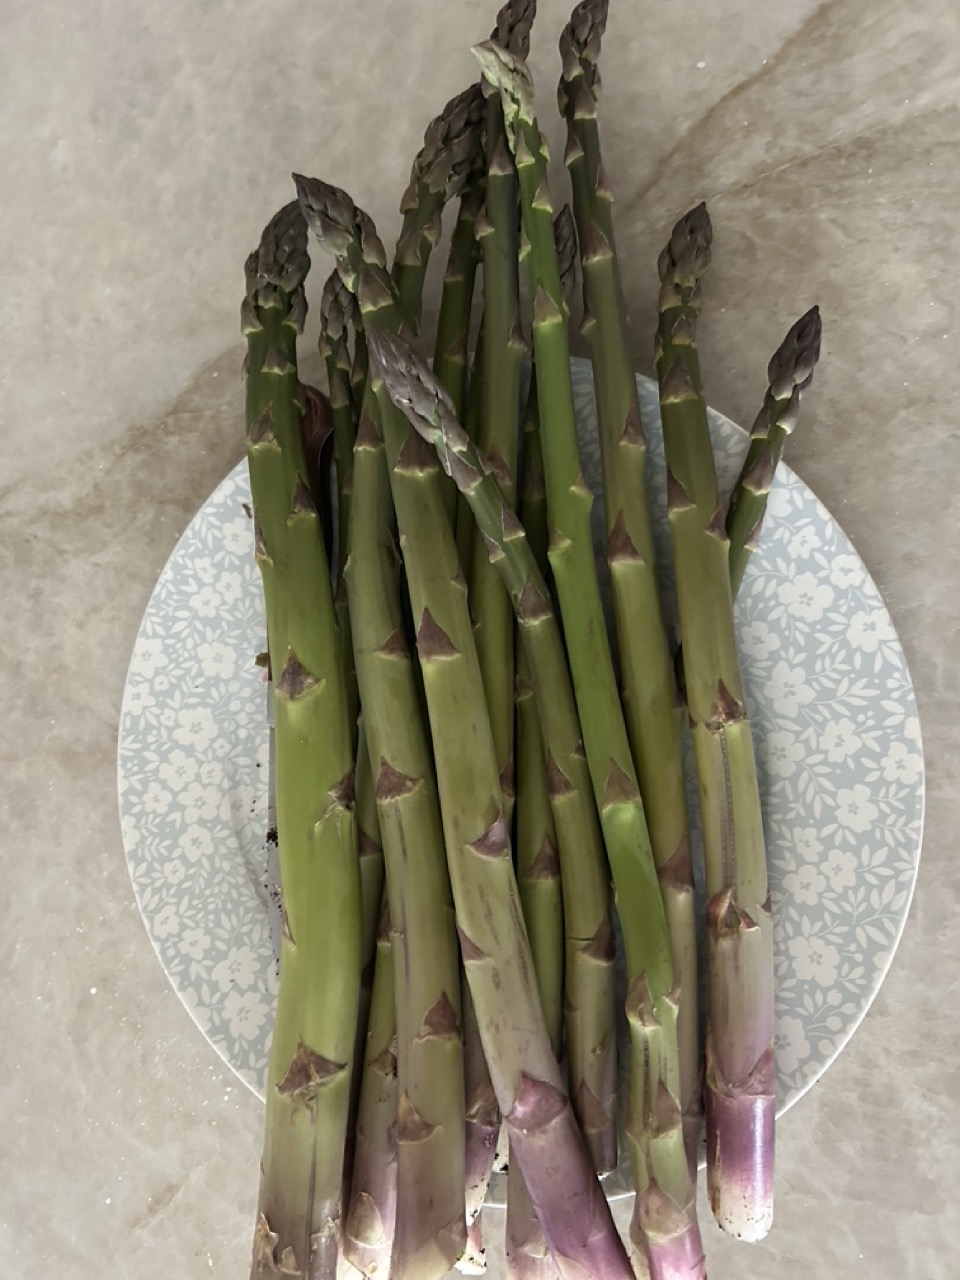
One major benefit is that harvest asperagus as the first garden green in the spring before salad and other greens are ready. From about 15 plants planted 3 years ago from bare root, we get 8 to 10 dinners worth of asperagus sprouts. Freshly harvested they are very sweet. Kids usually want just the top part as it’s sweetest. I know what your thinking, kids eat asperagus. Initially no, but get them to try the sweet part and they now eat it from our garden. I’ll have a recepie on how we prepare it later.
What You’ll Need
Since this is a permanent bed, site selection and preparation are everything.
- Asparagus Crowns: Buy 1-year-old crowns of an all-male hybrid like ‘Jersey Knight’ or ‘Millennium’. They are more vigorous and don’t waste energy on seeds.
- A Permanent Sunny Spot: At least 6-8 hours of direct sun. Choose a location where you won’t need to move the plants later!
- Well-Drained Soil: Asparagus hates “wet feet.” Avoid low spots in your garden.
- Compost or Well-Rotted Manure: Asparagus is a heavy feeder and loves rich, loose soil.
- A Shovel: For digging the “trench and mound” system.
How To Do It
- Prepare the Bed: Clear the area of all weeds. Loosen the soil about 1 foot deep and mix in plenty of compost.
- Dig the Trench: Dig a trench about 6-8 inches deep and 12 inches wide. If you’re planting multiple rows, space the trenches 3 feet apart (those summer ferns get big!).
- Create the Mound: In the bottom of the trench, use your soil-compost mix to create a small mound every 12-18 inches.
- The Crown Drop: Place each crown on top of a mound, draping its long, spider-like roots over the sides.
- The Initial Cover: Fill the trench with only 2-3 inches of soil initially. Don’t fill it all the way yet!
- Gradual Fill: As the spears emerge and grow, gradually fill in the rest of the trench with soil over the first season until it’s level with the surrounding ground.
- Water and Mulch: Give the bed a good drink and a thick layer of mulch (like straw or wood chips) to suppress weeds.
Pro Tip: The Patience Rule (Year 1 & 2)
This is the hardest part: Do not harvest any spears in your first year. Let them grow into tall, feathery “ferns” to build energy in the roots. In Year 2, you can do a very light 1-week harvest if the plants are vigorous, but it’s best to wait until Year 3 for your first real 2-3 week harvest. By Year 4, you can harvest for a full 6-8 weeks!
If by week 4, the spears are smaller than your pinky finger, do not harvest any more. Overharvesting may lead to smaller harvest next year. let that asperagus plant rest and grow into a full bush. You want to harvest asperagus until your garden salad starts so that you get a nice variety of dishes and you give your asperagus a chance to grow larger for next year. Sometimes, in fall, we get a few thick asperagus stalks coming up. As it’s fall, we harvest them as they will not have much time to grow. We probably shouldn’t but it’s worked out.
Winter Prep.
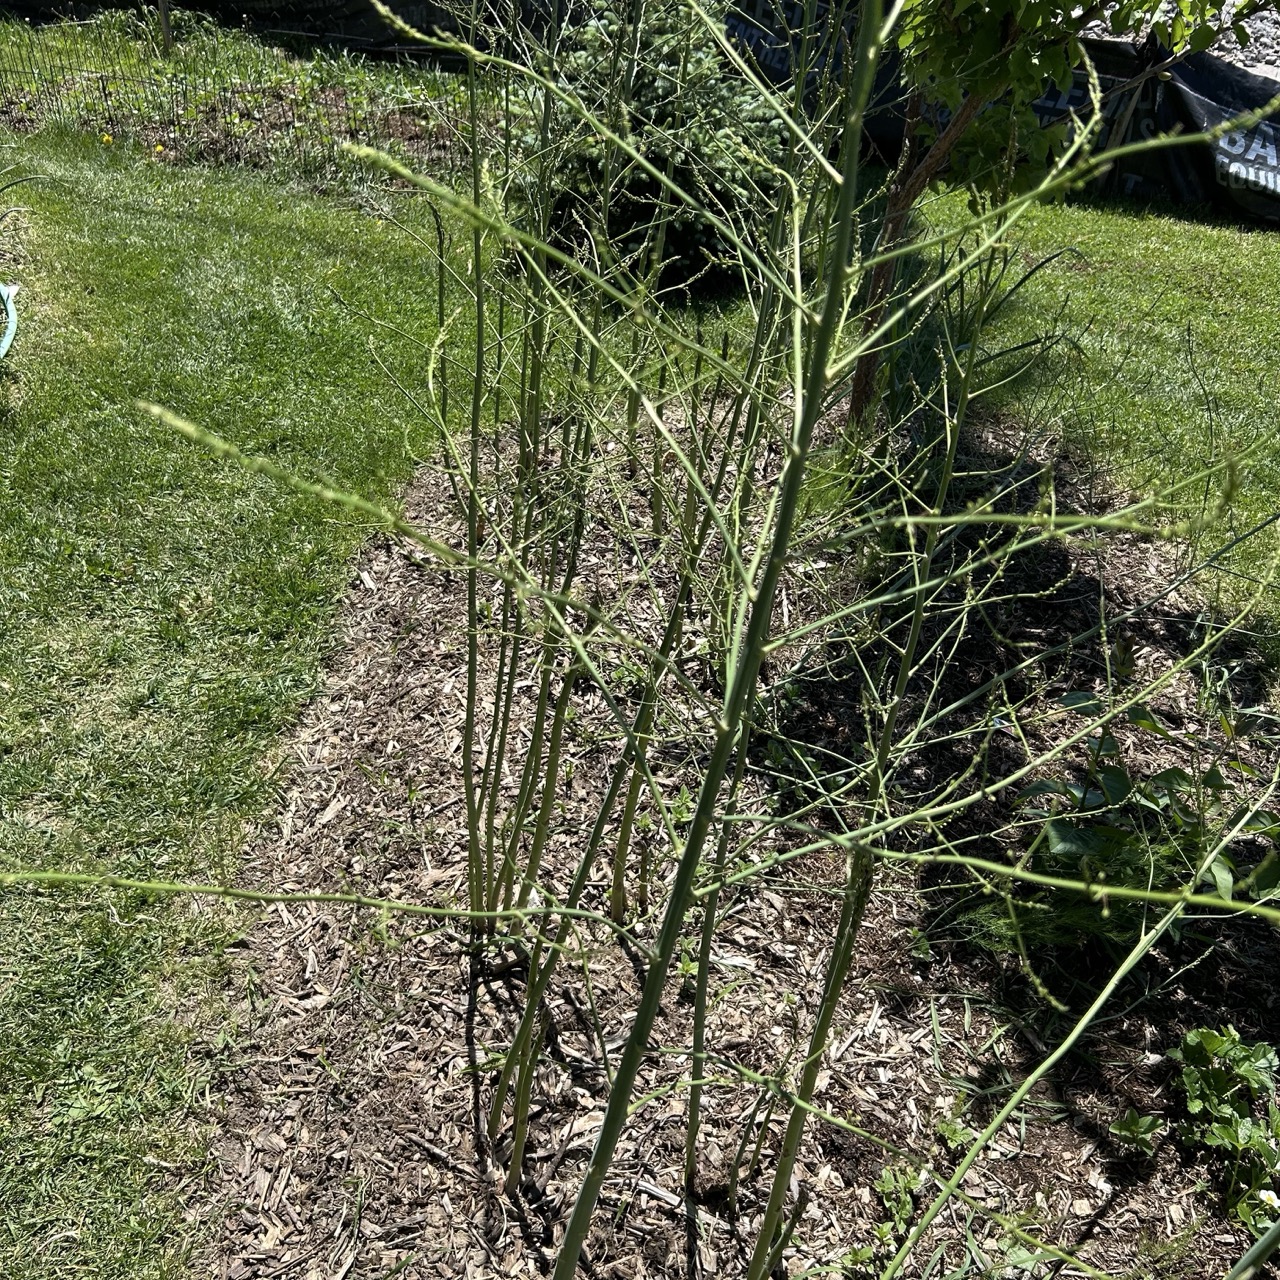
We generally cut down all the yellow and green stalks after the frosts start, in late October. I would recommand not to use the cut bushes as ground cover, just in case they are bugs like asperagus beatles hiding there. We just put them in a compost bag for the city to take away. Another option is to burn them. Cover your asperagus with wood chips, mushroom compost/straw mix or mulch. That will increase your yield next year as it will make sure your asperagus overwinters well. We live in a windy location, and the asperagus get’s the brunt of the cold winter wind, but that does not affect it at all.
Conclusion
Planting an asparagus bed is a true investment in your future self. It’s one of the first things to pop up in the spring and one of the most rewarding crops to grow. Give it some love and patience, and your garden will be providing you with fresh, delicious spears for decades to come.
Happy planting, and enjoy the anticipation!